Finished! Looks like this project is out of data at the moment!
We have just updated the Field Guide and FAQs with how to deal with imaging artefacts. Plus, check out our first results update.
FAQ
We'll update this page as you ask questions!
-
To find out about the science, head to the Research tab.
-
To find out how to do the workflows, check out the Field Guide and Tutorials!
-
If your question isn't here, feel free to ask us using the Talk boards!
Some of the bouton segmentation outlines look weird, should I still work on this subject?
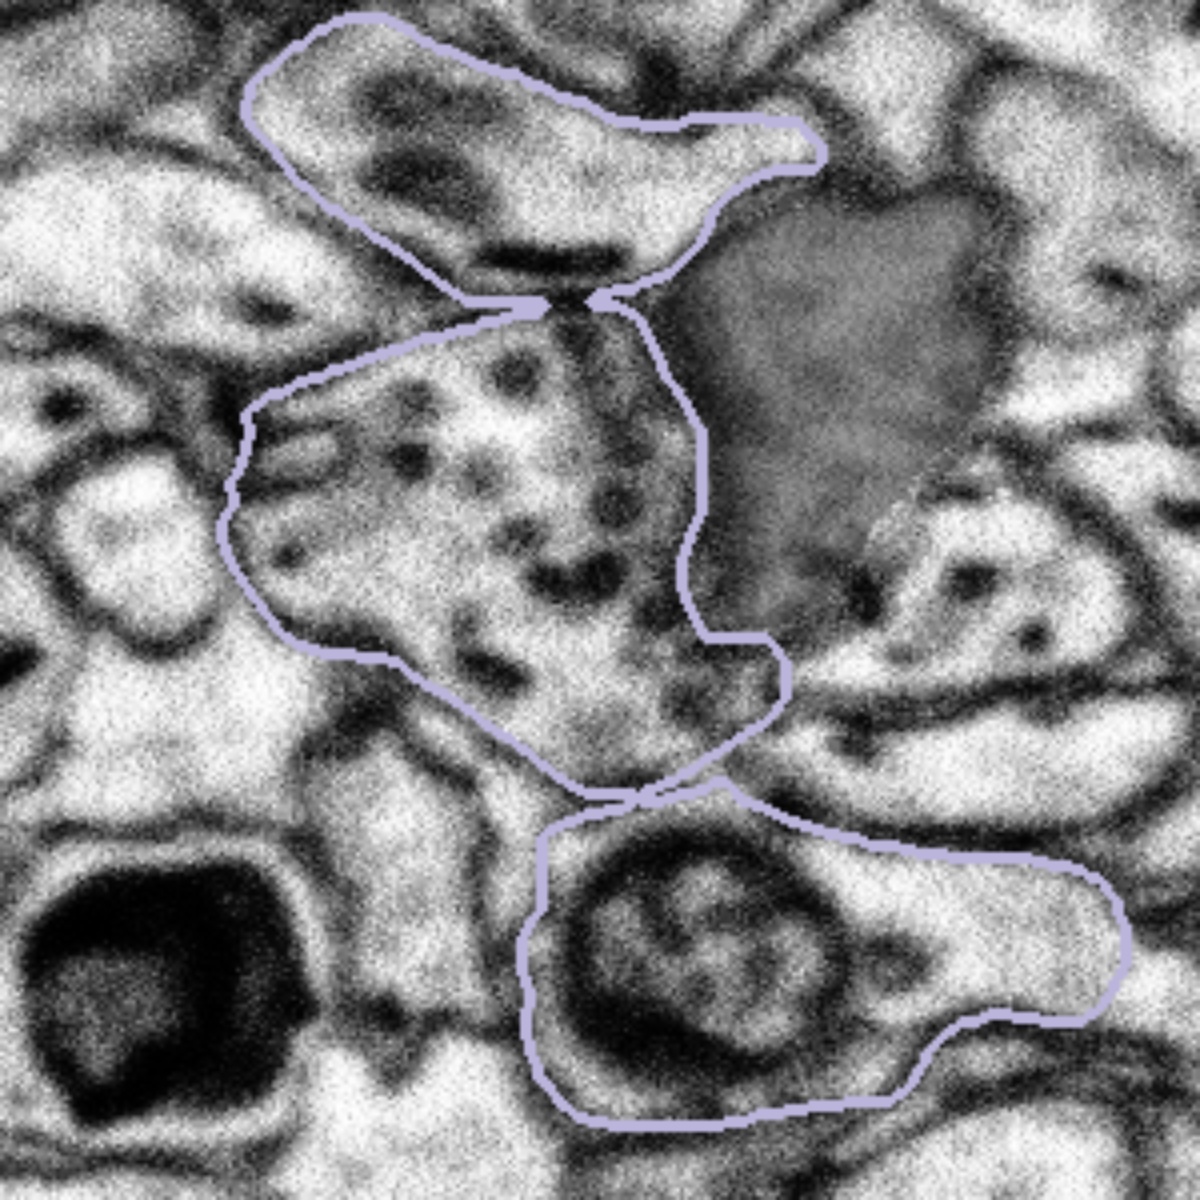
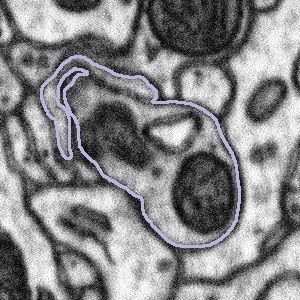
Synaptic boutons are complex 3D structures. Our experts traced all the boutons in 3D when segmenting them. When viewing from a 2D plane, depending on the angle and position of the plane, they may look weird. You might also see two connected boutons on one subject. This is because after tracing the boutons, our experts applied a filter that marks pixels as either 'bouton' or 'not bouton', which eventually gave us the purple outlines (the boundary between these two regions). This process may connect boutons next to each other, but it won't affect our analysis, since we're studying all the boutons together.
So if you see a weirdly-shaped bouton segmentation (like those below), don't worry! They are not wrong. Please still look at the entire region inside the purple outline for the task!
 |  |  |
What to do when the bouton segmentation is incorrect:
Sometimes the purple segmentation is not perfectly in line with what appears to be the edge of the bouton. If that is the case, such as in the examples below, then please complete the task as normal - see the FAQ section called "Some of the bouton segmentation outlines look weird, should I still work on this subject?" right above this one.
The bouton outline is correct but is offset from the image beneath |
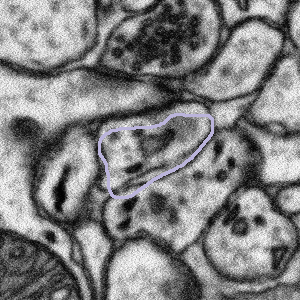 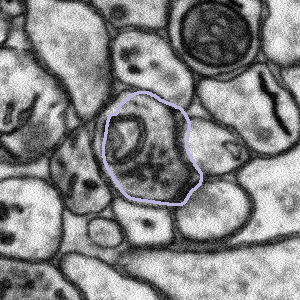 |
What to do: complete the task as normal |
However, sometimes the bouton outline is clearly wrong. In some cases, the bouton outline appears to be cropped to produce a straight line which cuts down the bouton. In this case, if you can see an object that intersects the straight line, then segment the entire object.
The bouton outline has been cut off or cropped to create a straight line |
 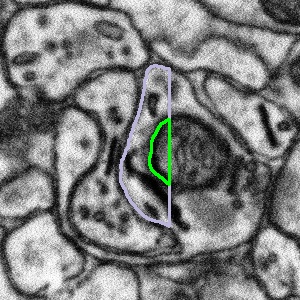 |
What to do: segment the entire object, then press Done & Talk and flag the subject as a #bad_bouton |
In other cases the bouton outline is very different from the image below, making it impossible to know what region you should be looking within. For this case we ask that you leave the machine annotation unchanged. In all cases remember to segment only what you can see.
The bouton outline is very different from the structures underneath |
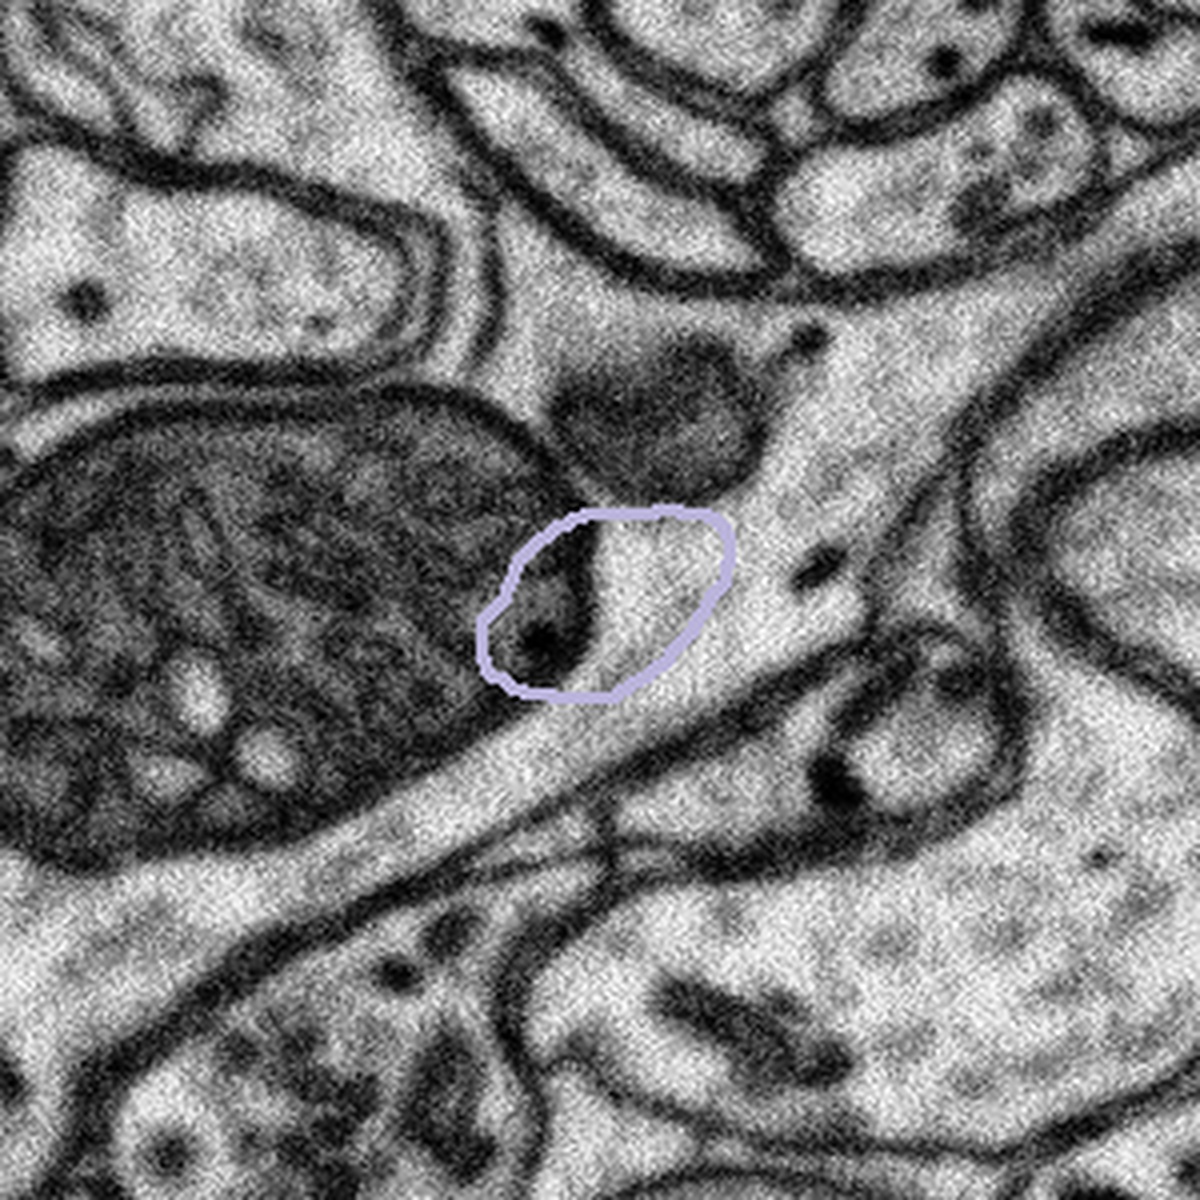 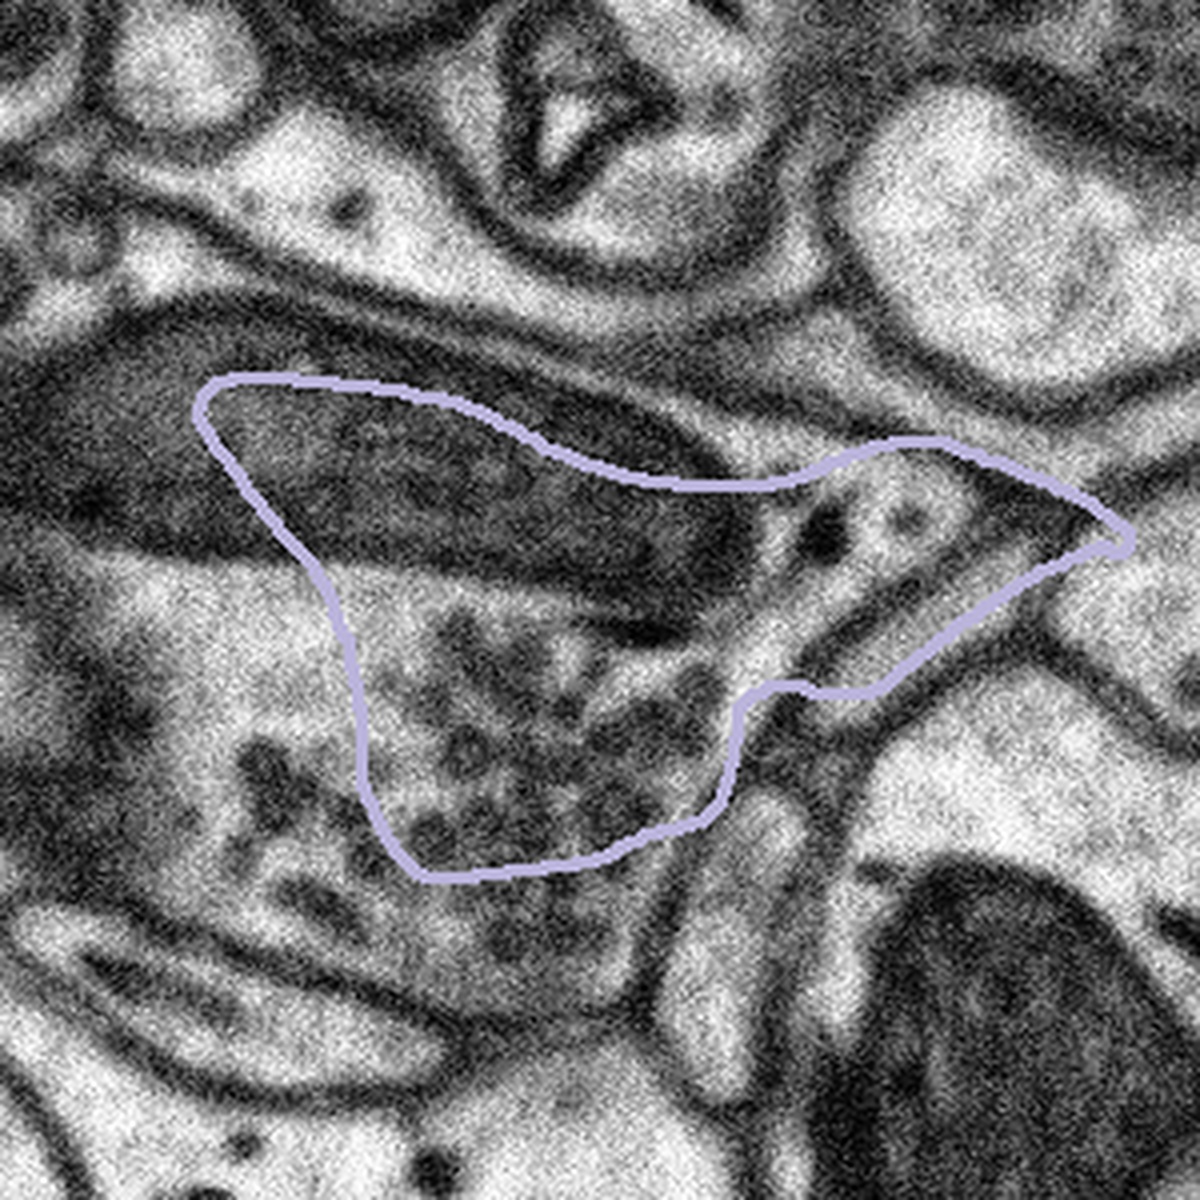 |
What to do: Leave the machine segmentation unaltered, press Done & Talk and flag the subject as a #bad_bouton |
If you are unsure what to do, then please segment the subject as you think is best, press Done & Talk and then flag the subject as both #difficult and a #bad_bouton. We will try to help where we can!
What to do when the bouton is too large:
In some cases, the bouton will be larger than the subject, meaning some of the area we want to examine has been cropped out:
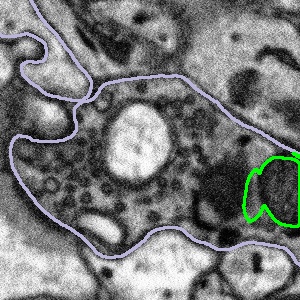 |  | 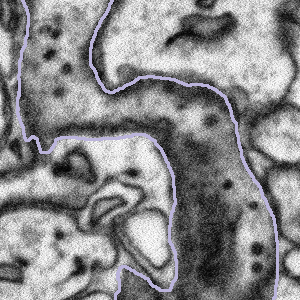 |
In these cases, we want you to segment only what you can see following the example below:
Highlighted bouton | Machine segmentation | Correct annotation | Incorrect annotation |
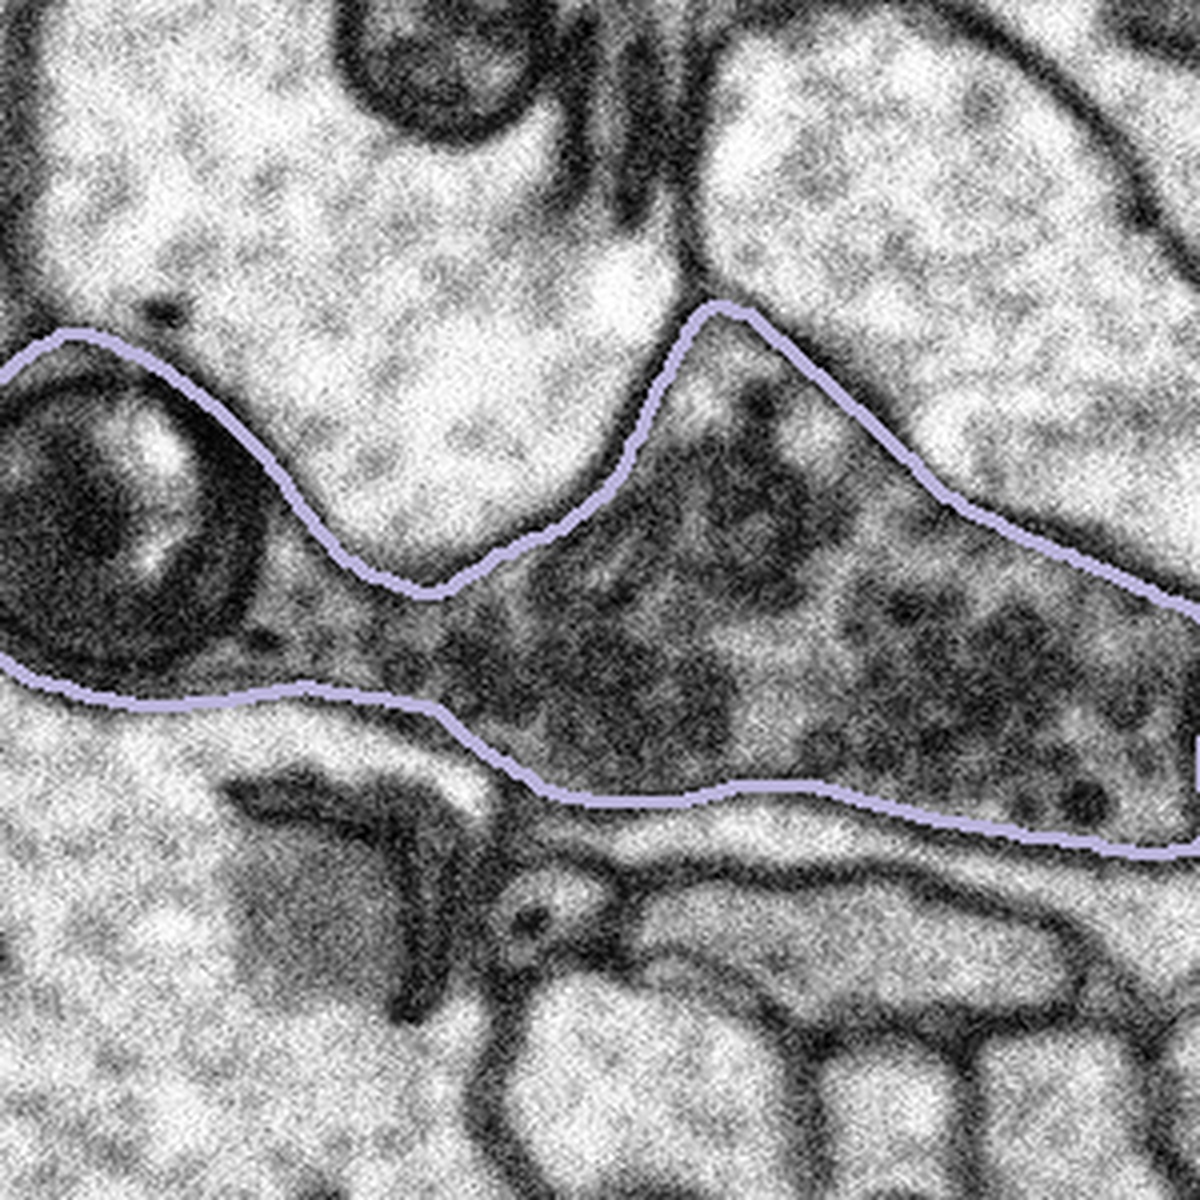 | 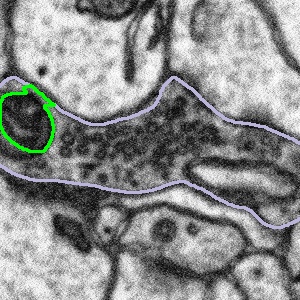 | 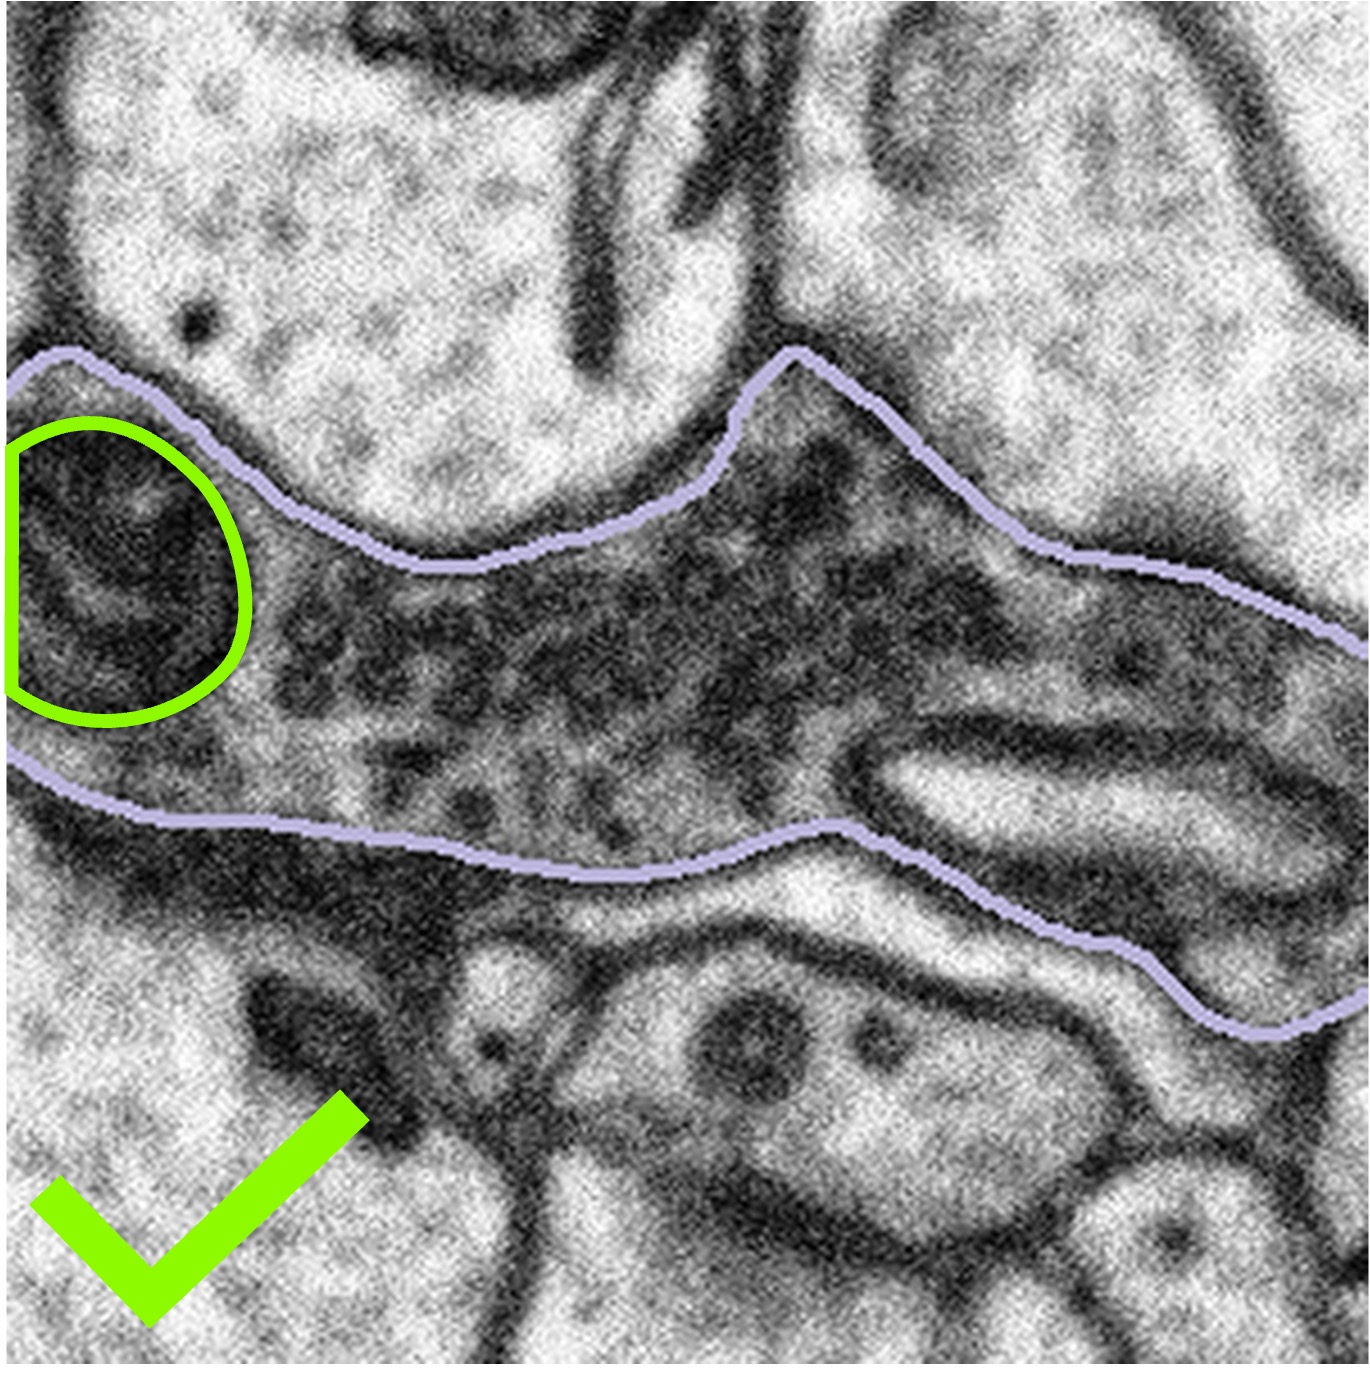 | 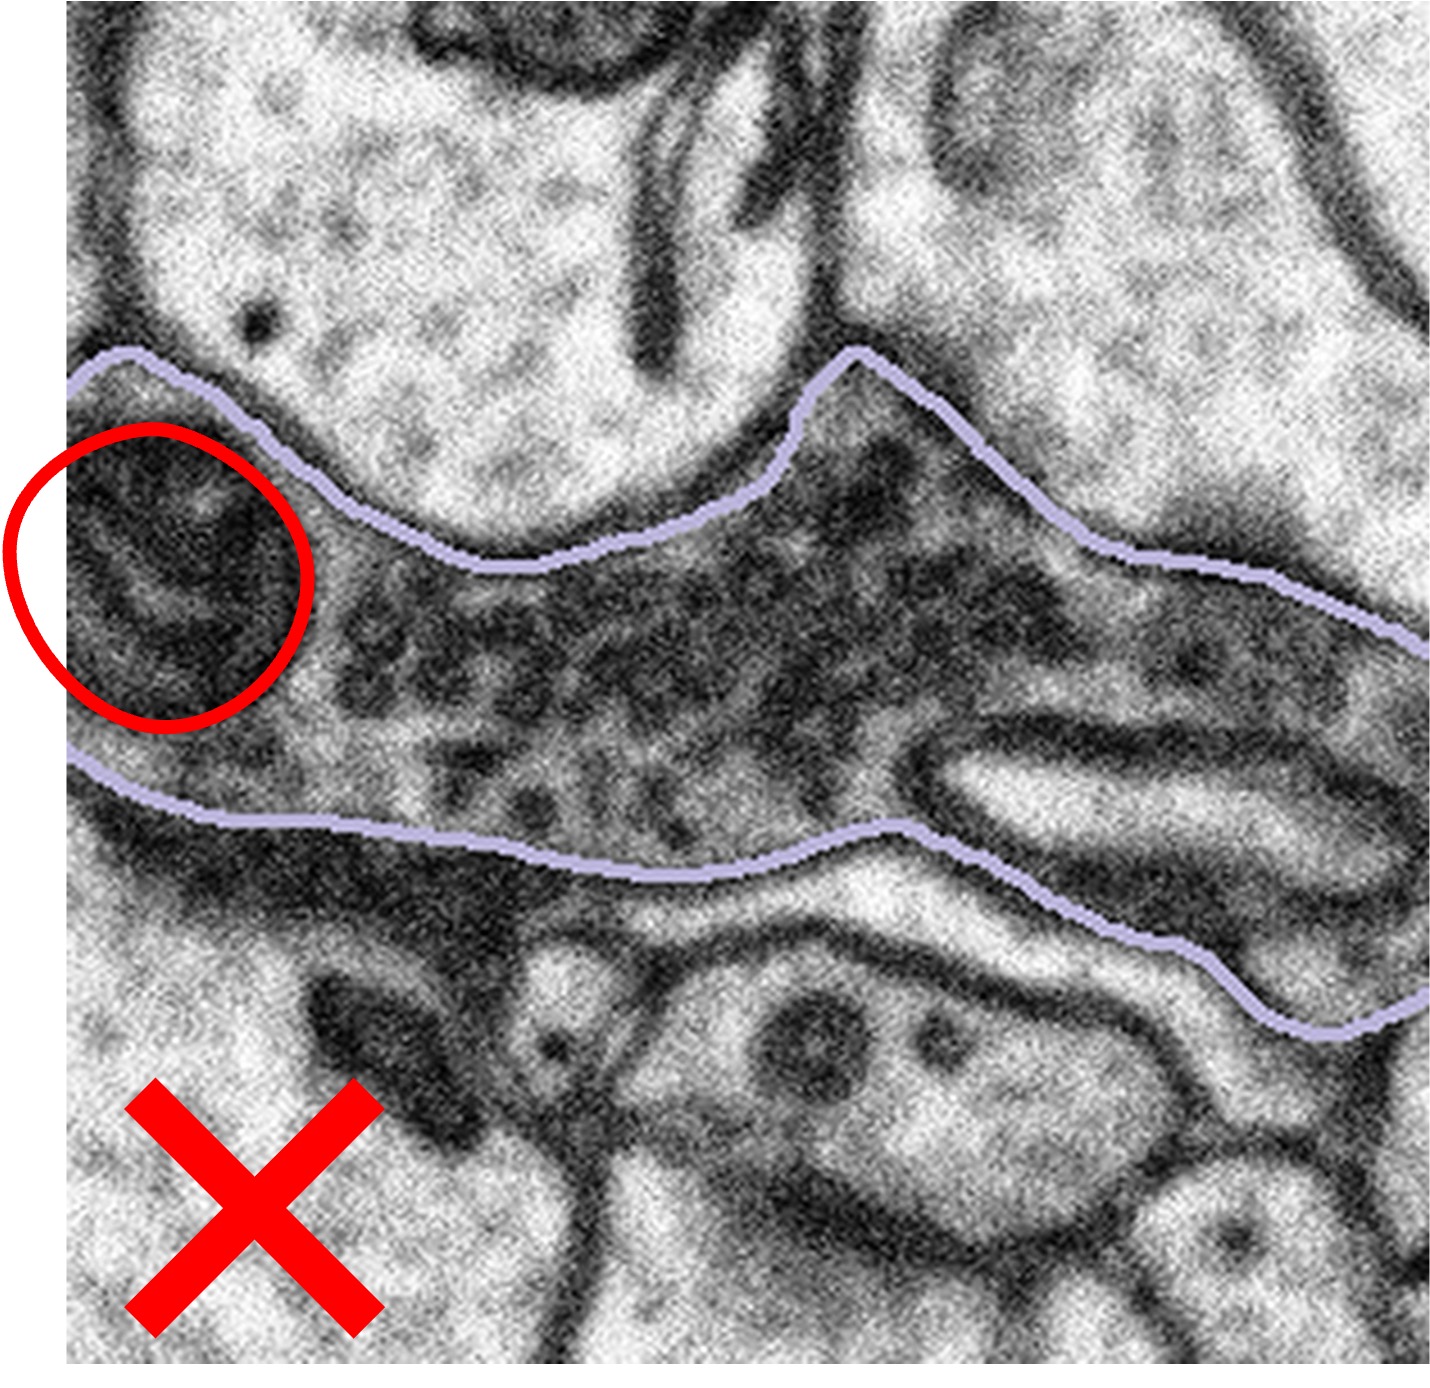 |
Once you have segmented the mitochondria correctly, we would like you to click Done & Talk and use the hashtags #bad_crop and #bouton_too_big to bring the subject to our attention.
Dealing with imaging artefacts and the edges of datasets:
In one of our newer datasets, there is an imaging artefact that appears as a black stripe in some subjects. Here is an example of the artefact in one slice of our data:
Sometimes, the artefact covers part of the mitochondria or bouton you are looking at. What we would like you to do in this case is only segment what you can see. There may be cases where you can predict the path that the edge of the mitochondria might take across the gap, but this will be subjective, and we can never be sure that the mitochondria will follow this line exactly. An example of what to do is shown below:
Highlighted bouton | Machine segmentation | Correct annotation | Incorrect annotation |
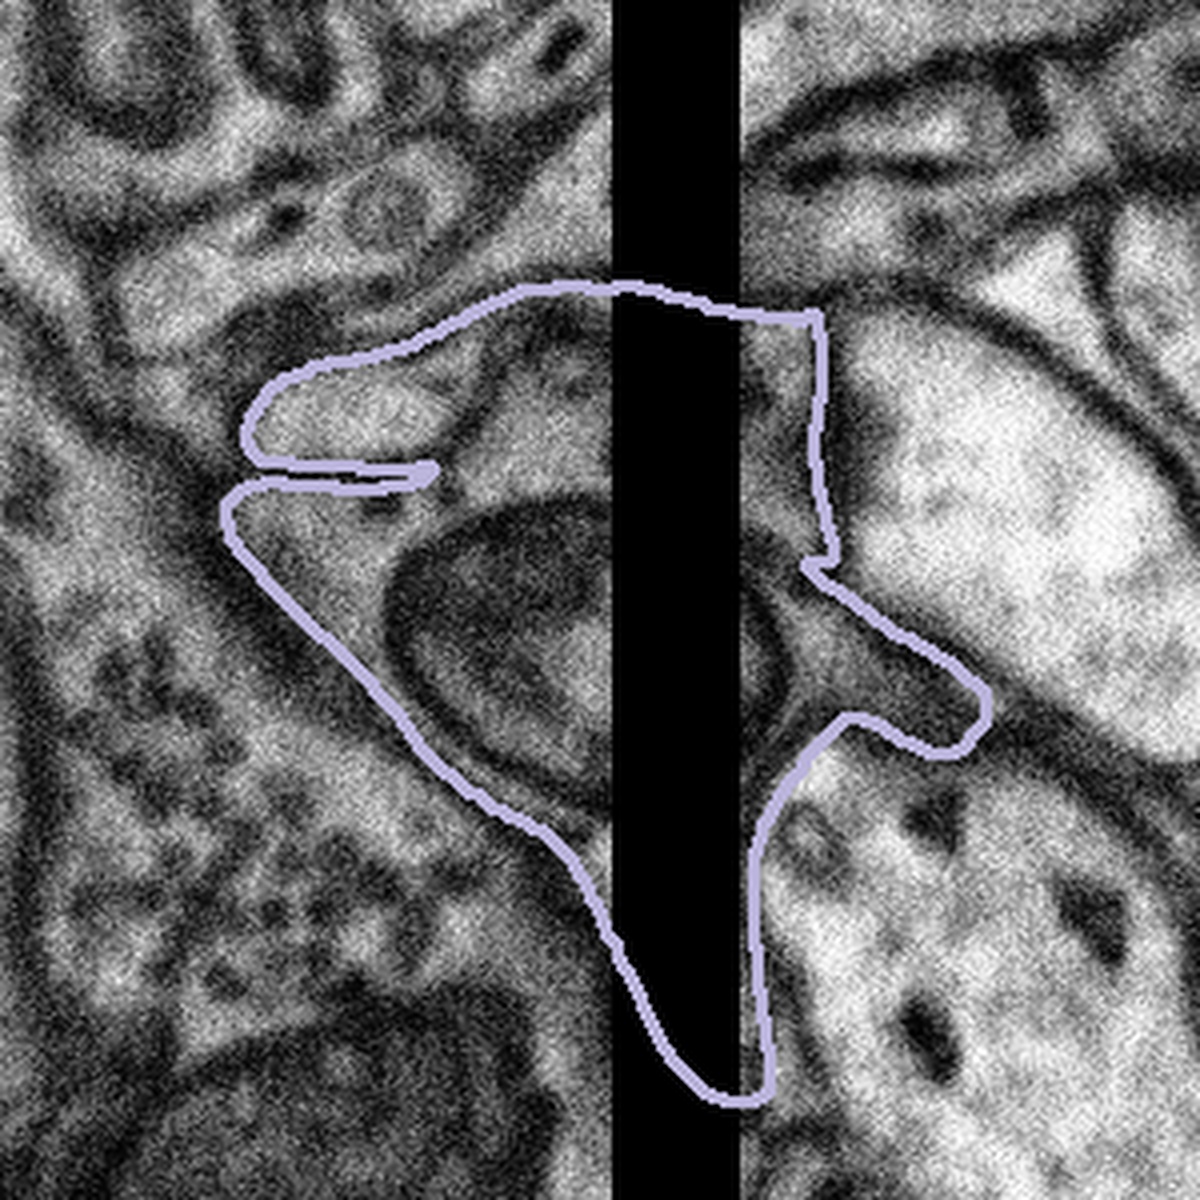 | 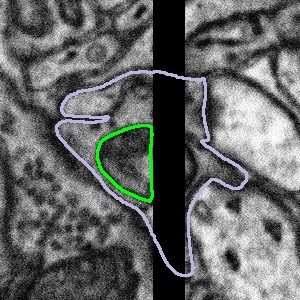 | 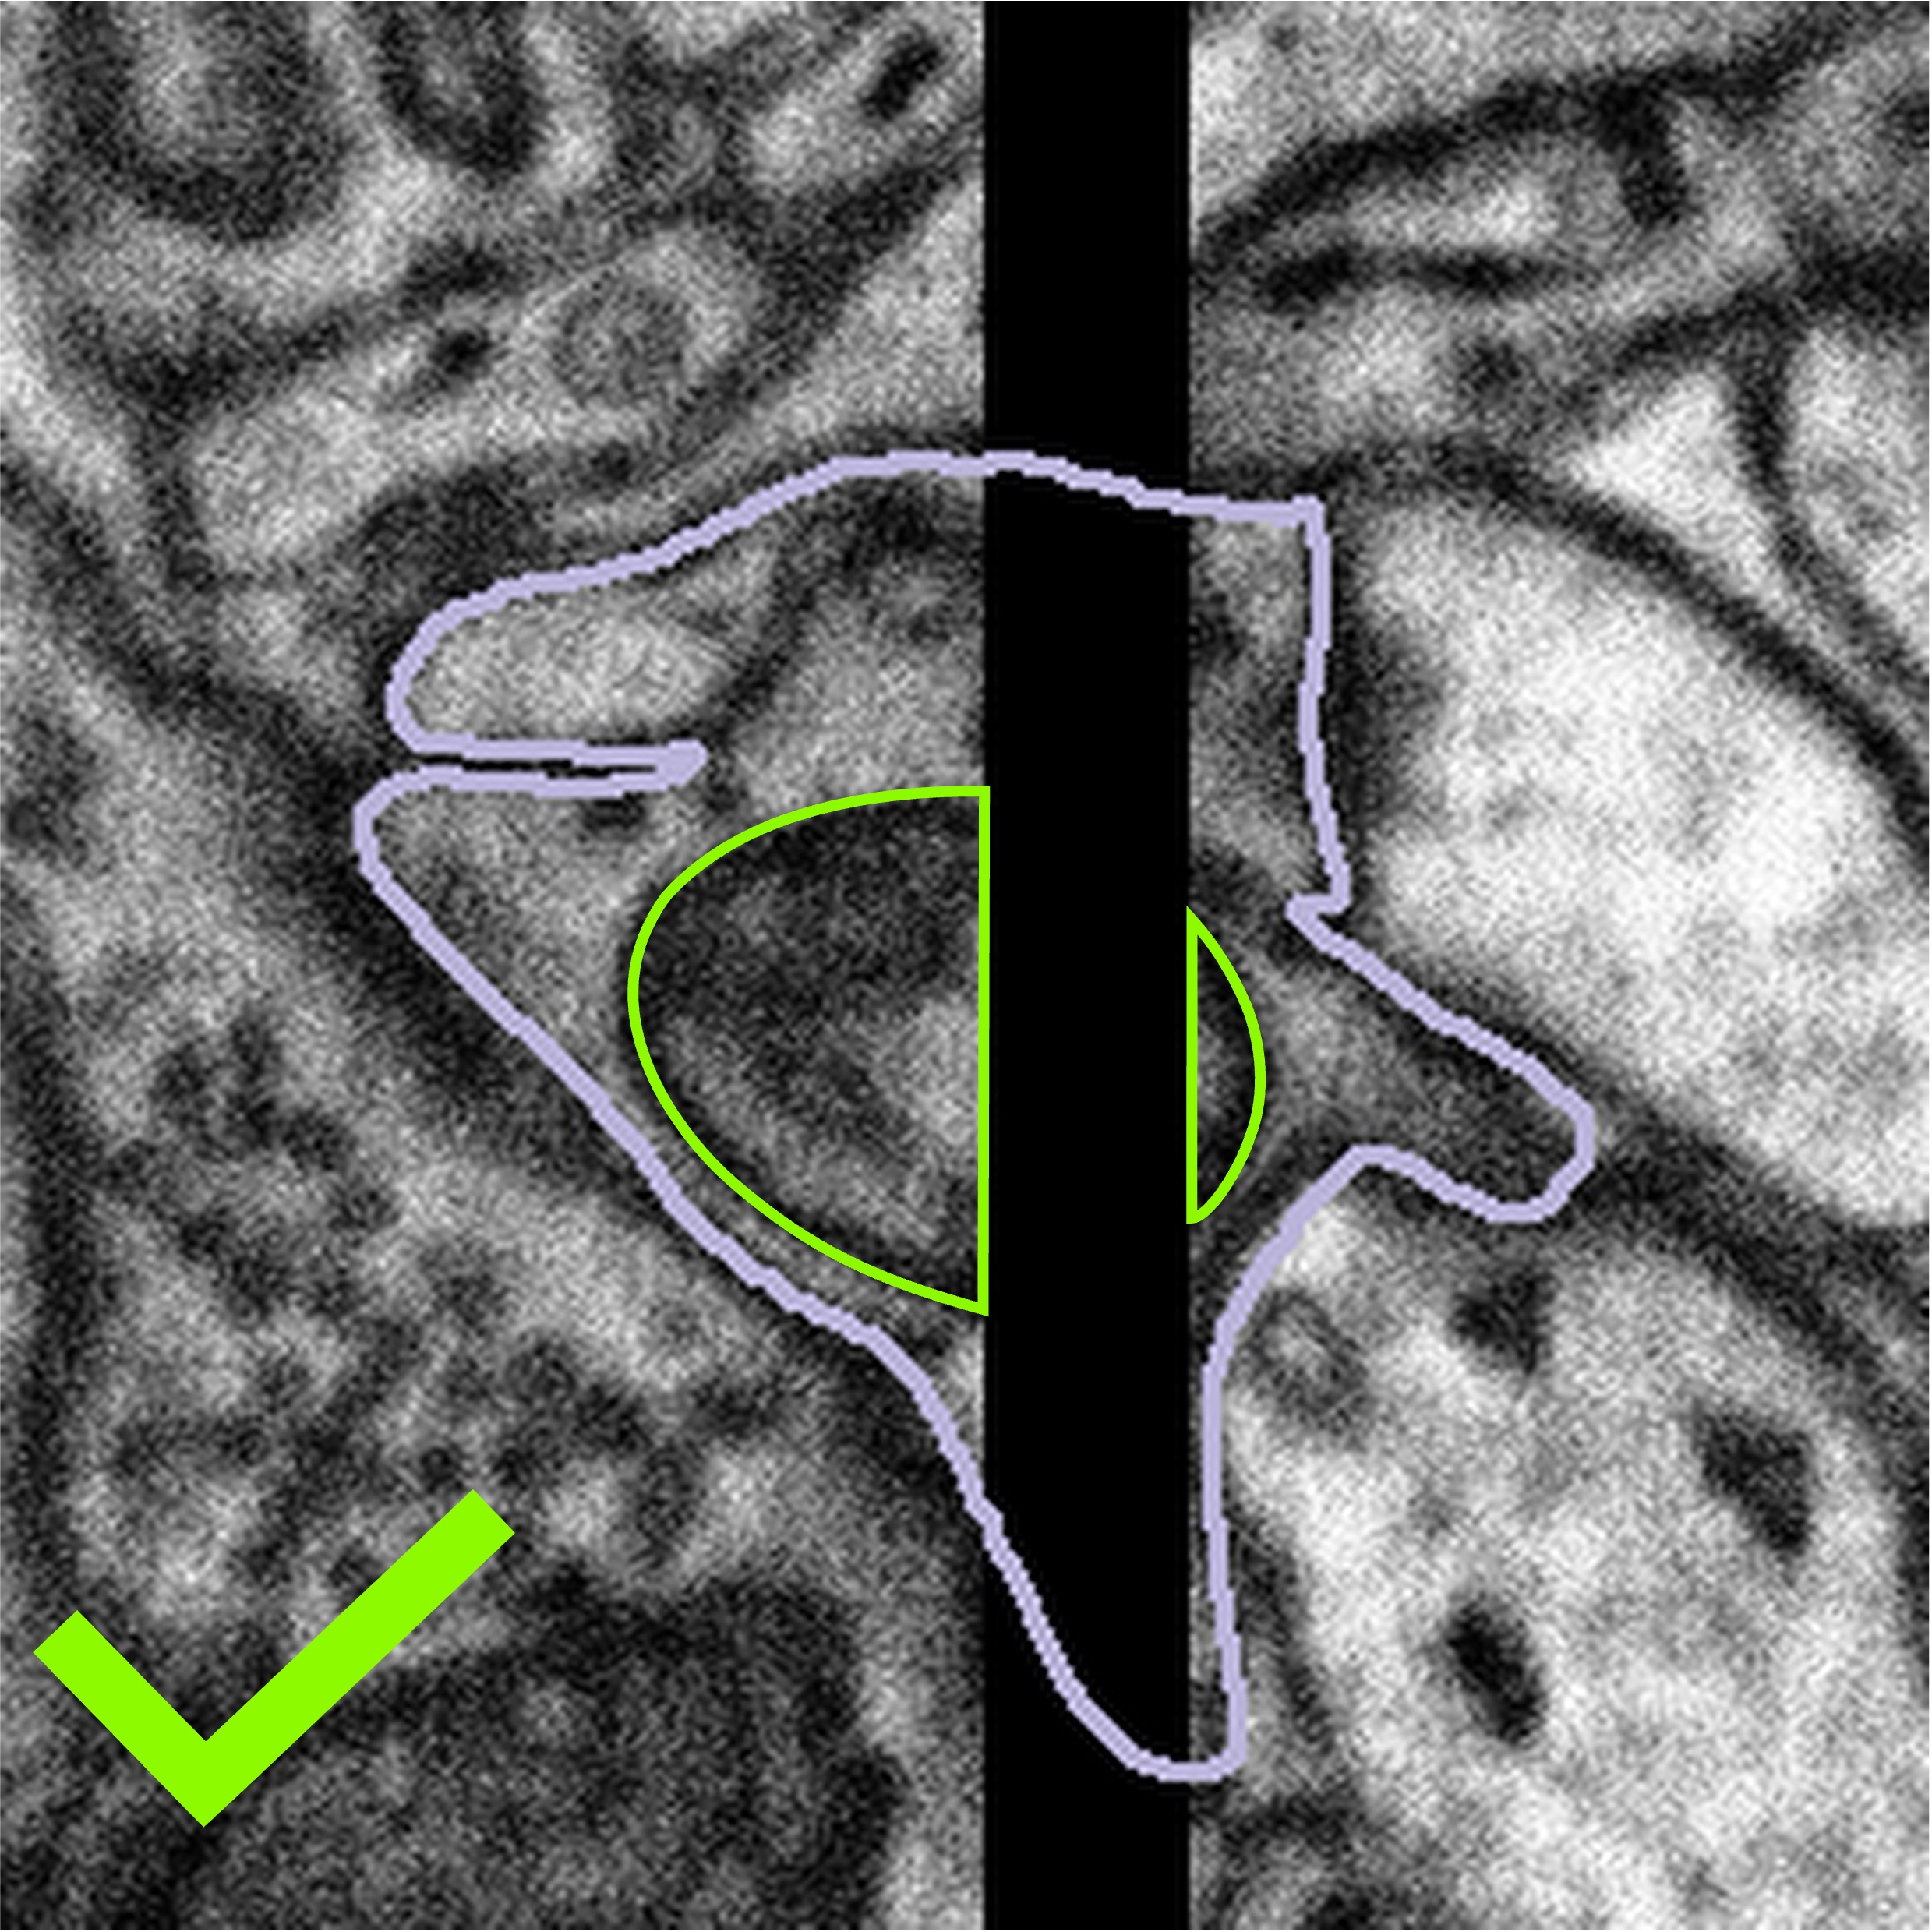 | 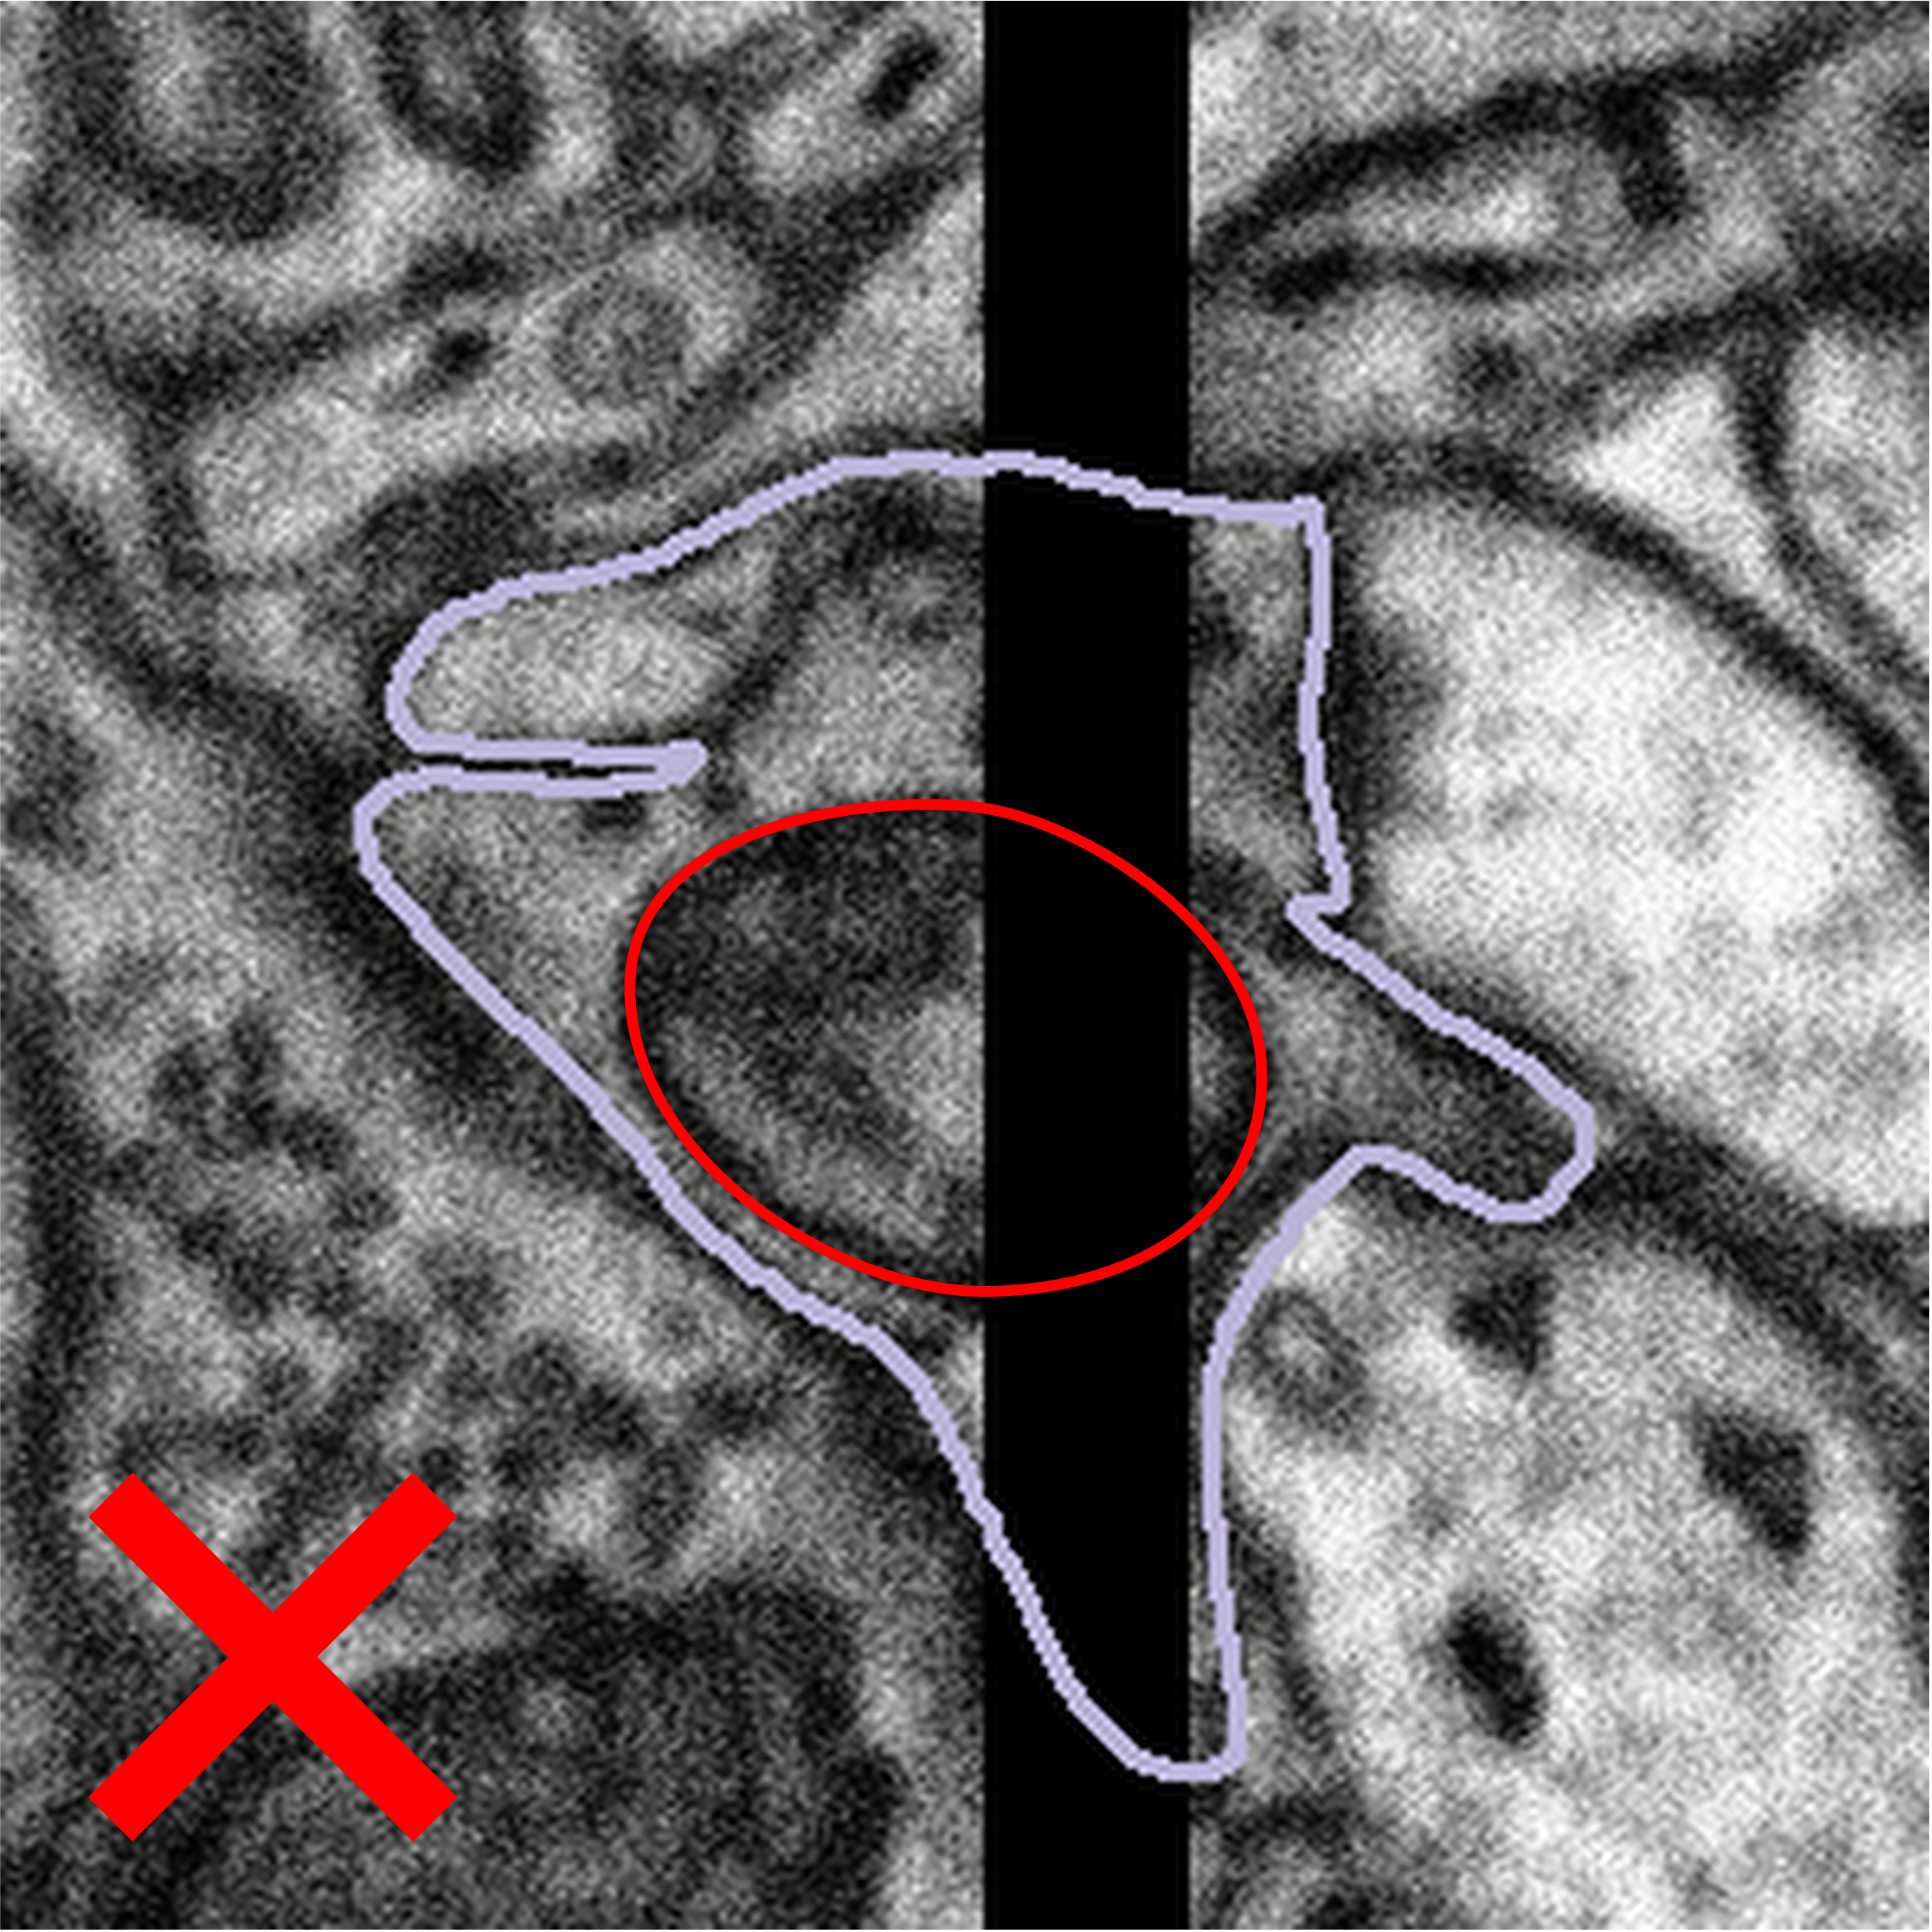 |
We would like you to close the loop with a straight line, either by using the auto-close tool or by drawing along the edge of the visible area by hand. If you are confident that you can see parts of a mitochondrion on both sides of the artefact, please segment them as separate objects so that you are segmenting only the regions of the data which contain information. Once you have segmented the subject, please click Done & Talk and tag the image as #image_artefact or #bad_image #black_stripe so we can take a look for you.
When you see a subject that is on the edge of a dataset you will also see that a portion of the subject is black. We would like you to treat boutons that come into contact with the edges of the dataset in the same way – by segmenting only what you can see and closing the annotation with a straight line if the mitochondria looks like it is only partly within view. Here are some examples of subjects at the edges of datasets:
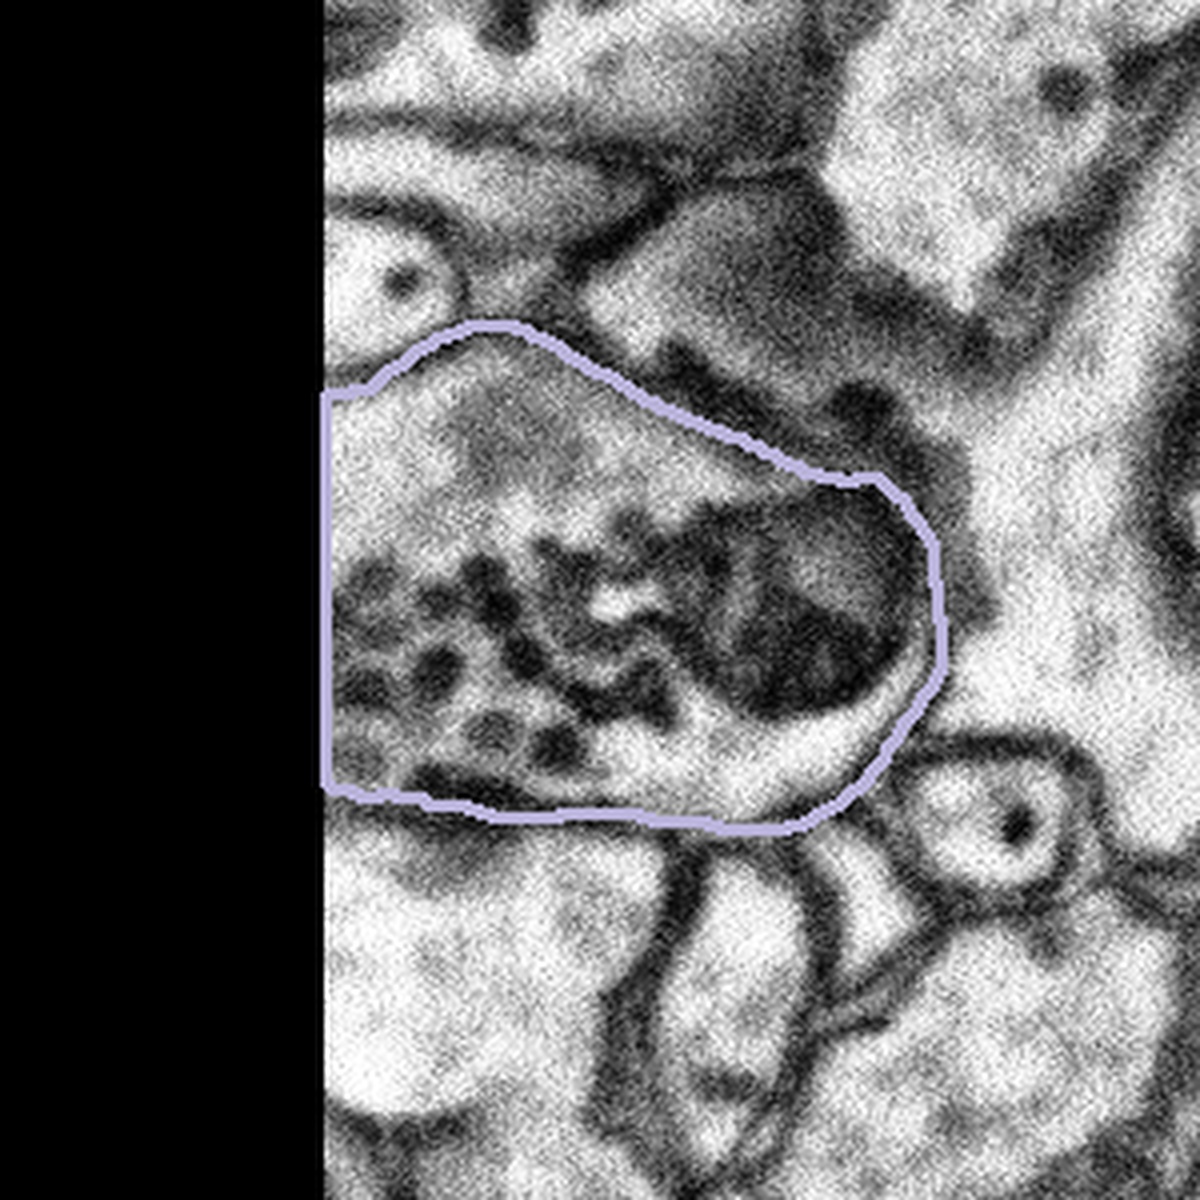 | 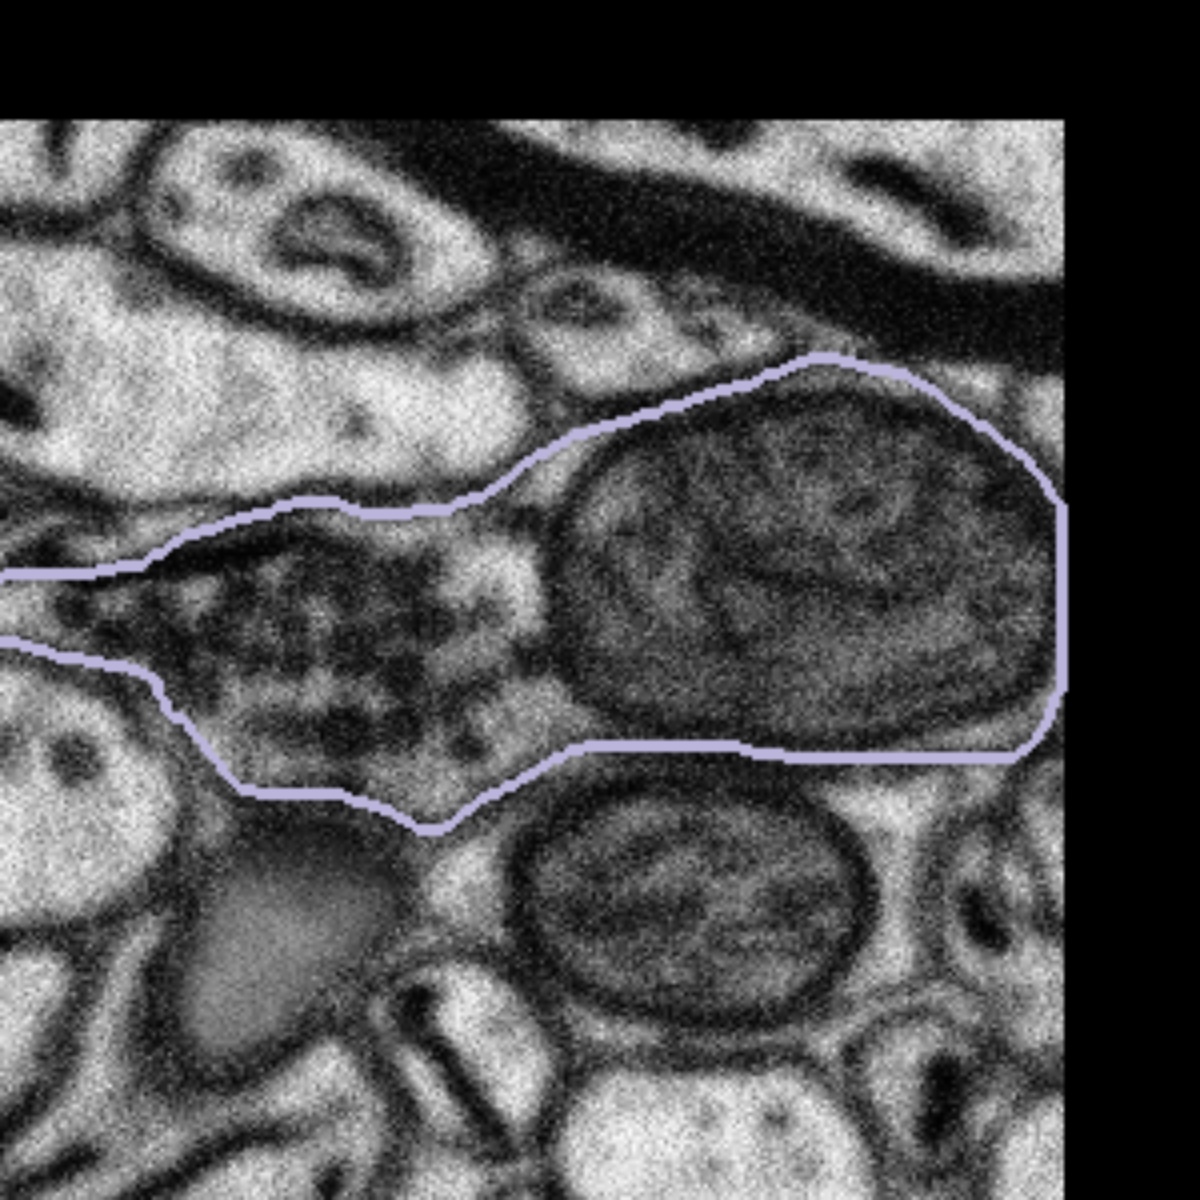 | 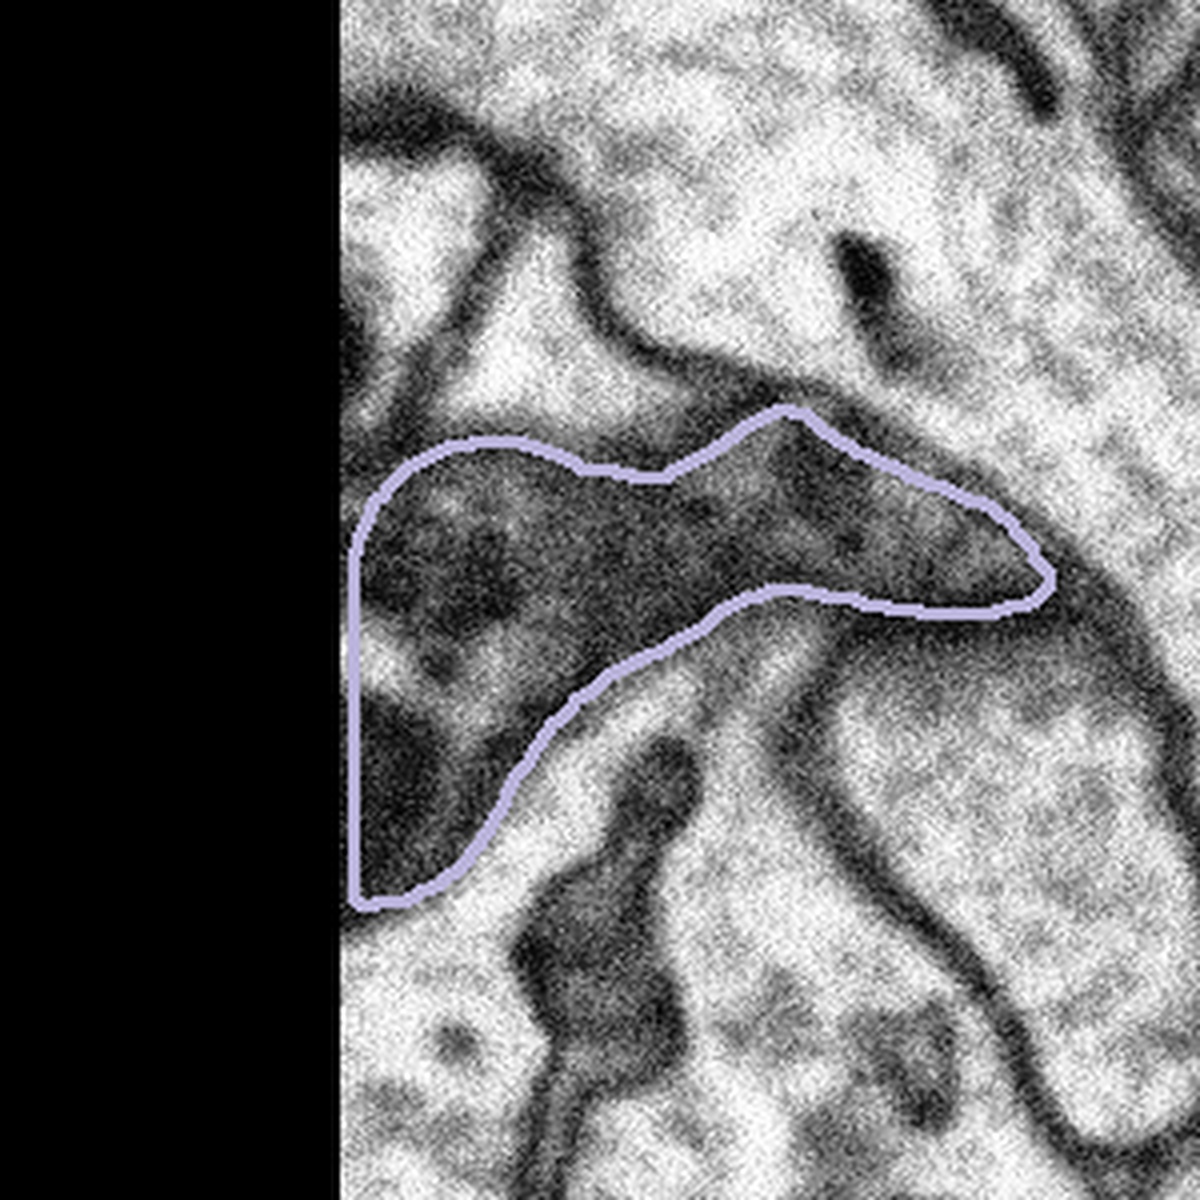 |
If you feel your segmentation has been impacted by the edge of the dataset, then press Done & Talk and tag the subject with any of the following tags:
In the Correct machine segmentation of mitochondria workflow, I don't see any green machine segmentation outlines.
This is one of the very few projects that use this new tool of freehand drawing to correct pre-loaded annotations. The Zooniverse team is still working hard to improve its functionality. You may have trouble seeing green outlines on the images when using a tablet or phone. Please try using a desktop browser, or check out the other workflows!
In the subjects saved to Collections or shared to Talk from the correct mitochondria workflow, I don't see any green machine segmentation outlines.
As correcting pre-loaded annotations is a new and developing feature, the Zooniverse team is still working on making the pre-loaded outlines visible on subjects in Talk and Collections. At the moment, if you'd like to view the machine segmentation subject, click the "i" button below, and you'll be able to see it in the pop up window.

Can I get volunteer credit for my school, Duke of Edinburgh Award etc.?
Some students or Duke of Edinburgh's award volunteers (to name a few) may require a confirmation of their contribution to a Science Scribbler project as part of their assessment or class. There is no official way to track total time spent classifying on the Zooniverse (see this Talk post for more details). Instead, we can provide a Volunteer Certificate to registered volunteers who contribute to Science Scribbler projects. To confirm your hours and receive a certificate, please follow the steps below:
- Create a Zooniverse account - select 'Register' at the top right corner of the screen to create an account.
- Remember to sign in before each classification session. If you don't sign in, you won't have a record of the classifications you've done in that session. Unfortunately we cannot verify volunteer hours for contributors who do not have a Zooniverse account or are not signed in when they contribute.
- Once your time with us is complete, please take a screenshot of “Your stats” screen (including your username).
- Fill out this form to get credit for your volunteer hours. Please keep track of your own hours to submit to the form alongside your classification number and screenshot. We will check that the number of hours is reasonable given the total classifications.
How to access “Your stats”
Your stats can be accessed in a number of ways (you must be signed in):
- click on the Zooniverse logo to get to the Home page
- click on your username in the top right corner of the screen, then select “Profile” and then go to “Your stats”. You’ll have to scroll up to include your username
- or via this link: https://www.zooniverse.org/#projects
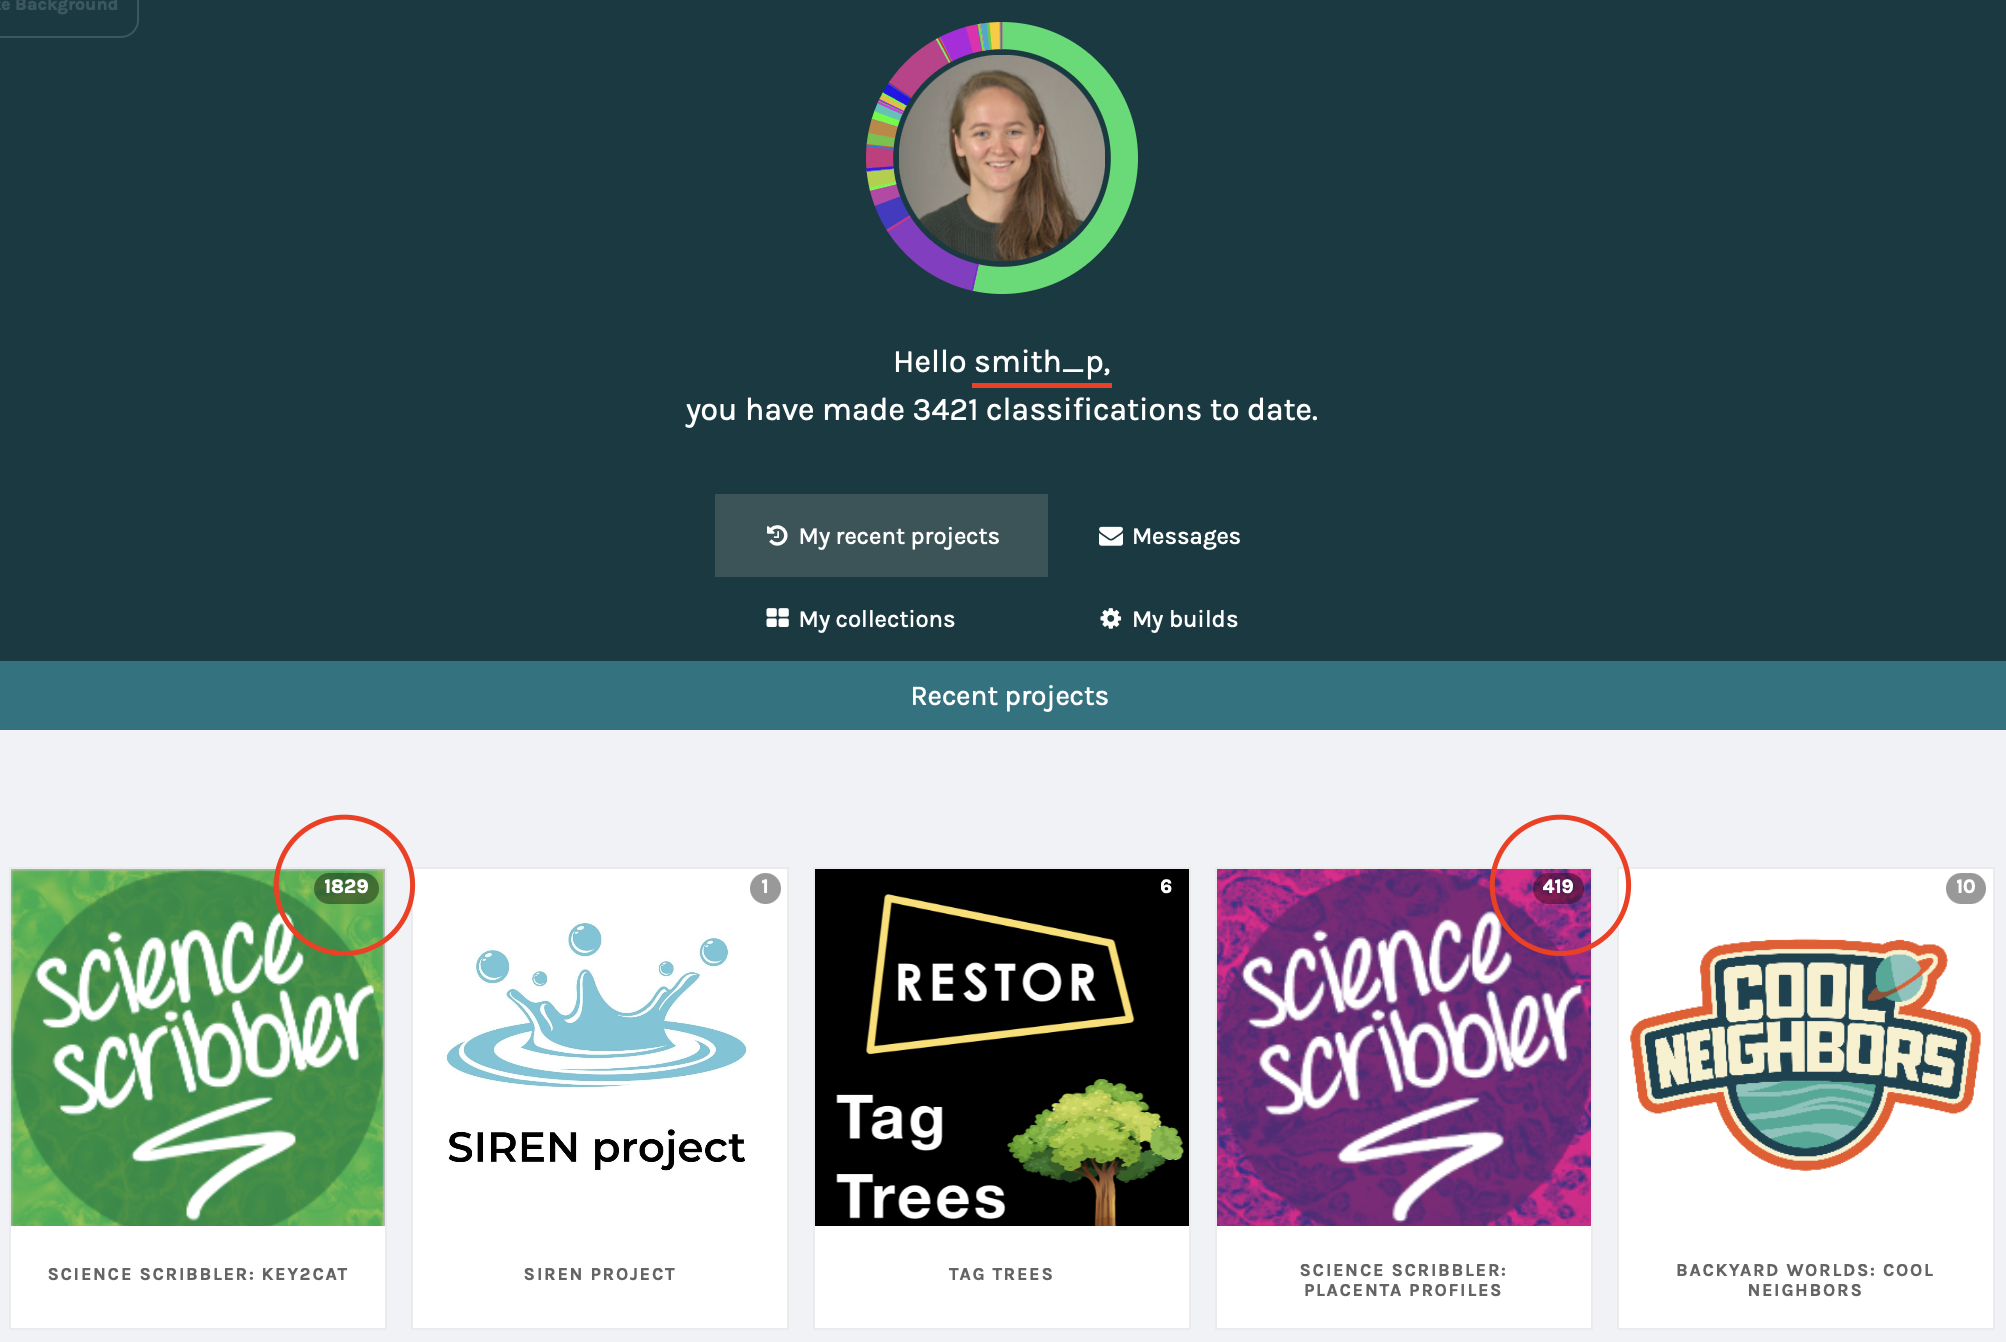
Here is an example of a good screenshot using @smith_p's stats page. The username (underlined in red) and the number of classifications for two Science Scribbler projects (circled in red) can be seen:
 |
If you require the name of an assessor for your hours, please add Patricia Smith, Science Scribbler Community Manager, contact email: science.scribbler.team@gmail.com. Please also follow the steps above and fill out the verification form. If you need any more information for the assessor, please email us and we will provide it.
Note that we estimate that, on average, our volunteers can classify about 25-100 subjects per hour, depending on the workflow. For example in the Correct Synaptic Vesicles workflow, we would estimate that you could complete 1 classification per minute. However, in the Mito Spotter and Mito Inspector workflows, you might be able to complete up to 10 per minute depending on how much time you spend looking at each image and your internet speed!
Please also remember that depending on when you join our project, we may run out of data while you are carrying out your service hours. Check the statistics page to see how far through the project we are before you begin. If we do finish data collection, you can continue your weekly hour(s) with one of our other Science Scribbler projects. Live projects can be found on our Organisation page. We can verify those hours using the same process, but we can't verify hours for projects that are not part of the Science Scribbler Organisation.
More Questions?
If you have any questions, you can:
- Send a message to @smith_p with your Zooniverse account (see 'Messages' in the top right)
- Head to our Talk Boards and tag @smith_p in your post
- You can also email us at science.scribbler.team@gmail.com